By setting up time schedules, applications can be switched automatically at certain times. For example, the light in the hallway can be switched on automatically from sunset to sunrise. In the following steps you will learn how to set up and edit schedules.
Create a new schedule


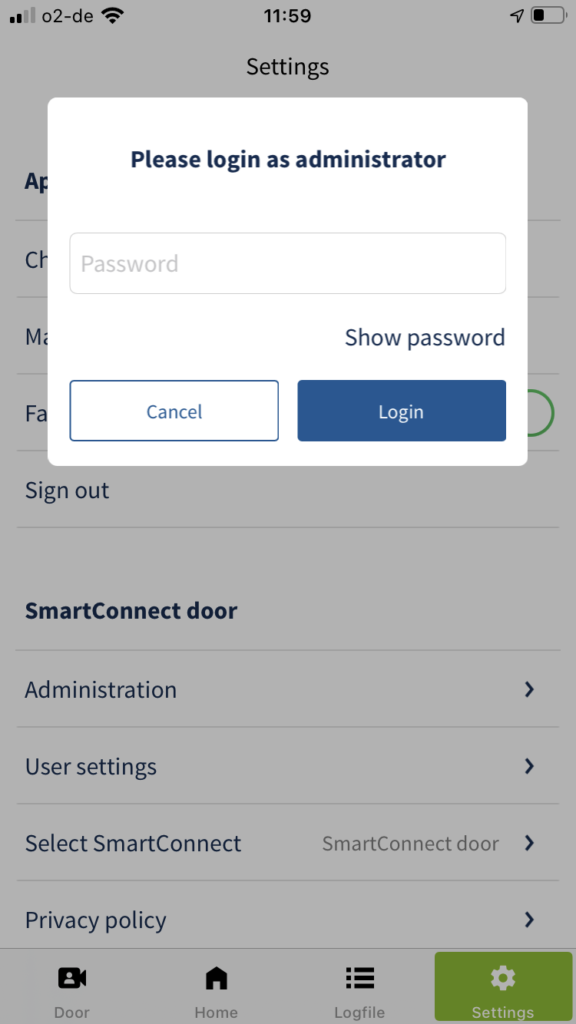
- Tap Settings in the main menu and then tap Administration.
- Enter your administrator password and tap Login.
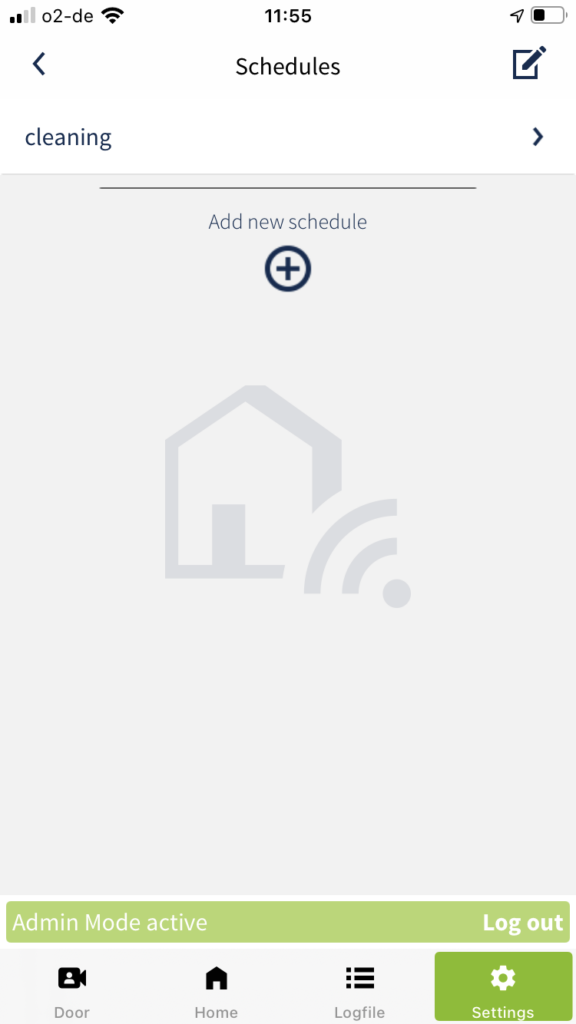
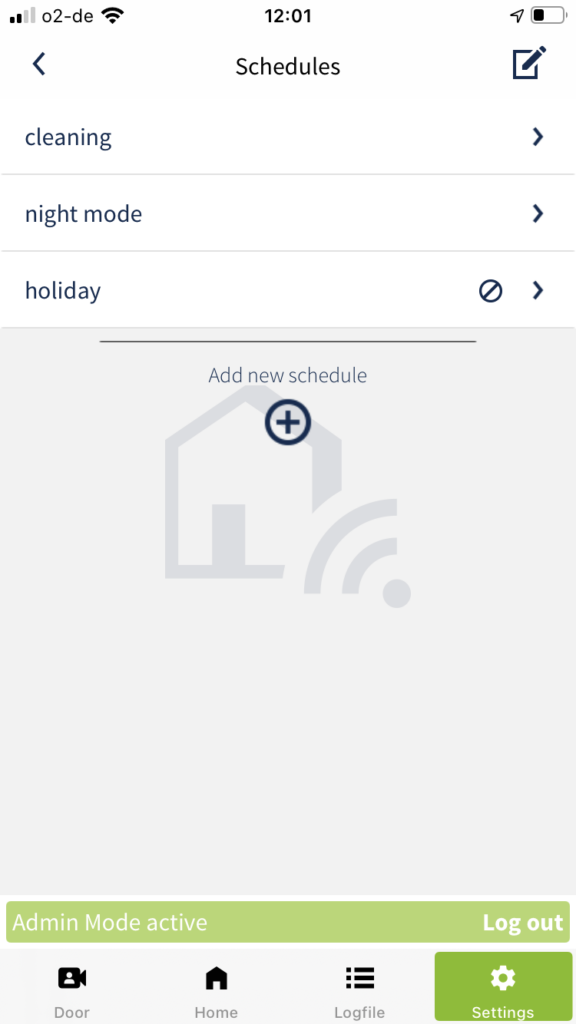
- Tap Schedules.
- Tap the plus icon below the schedule list.
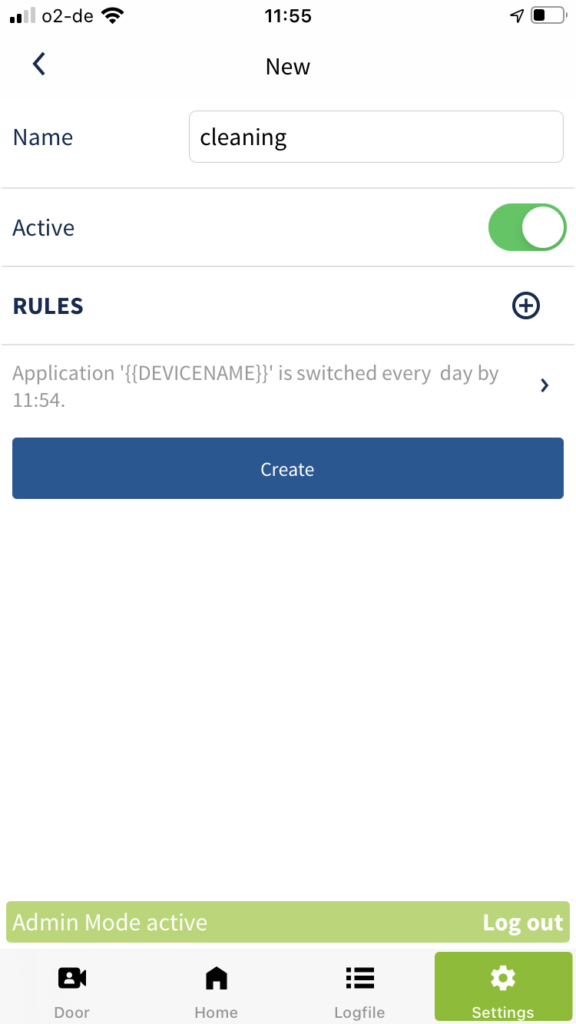
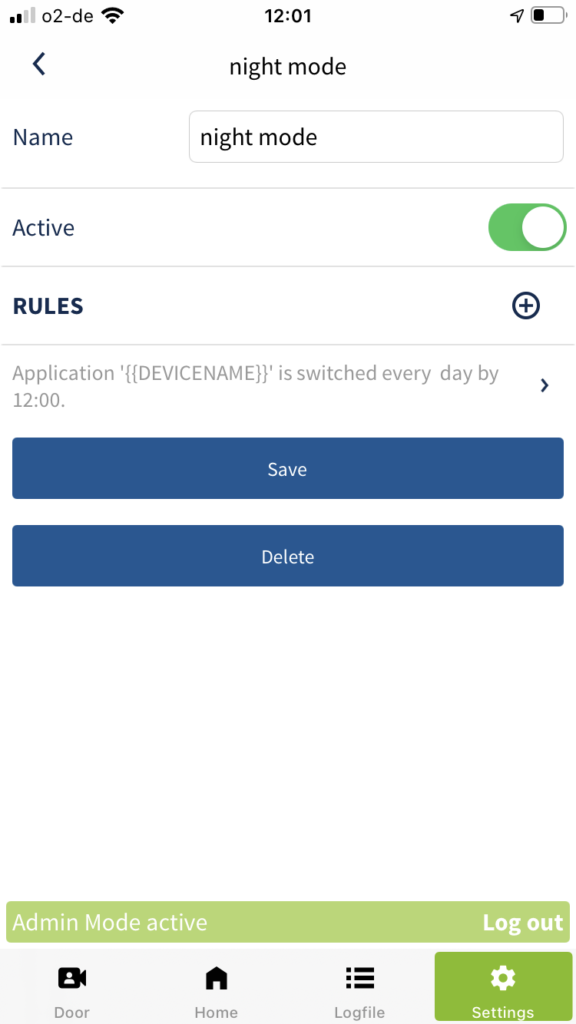
- Enter a name for the schedule and then tap the plus icon to set the rules.
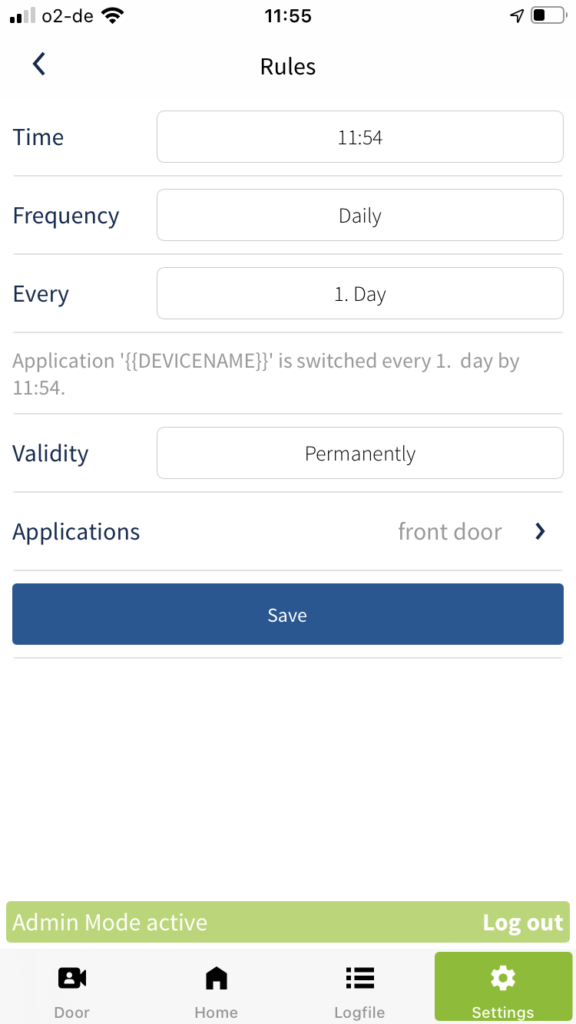
- Set the rules Time, Frequency, Every and Validity. A table with explanations of the individual rules can be found below. Then tap Applications to specify which application should be switched.
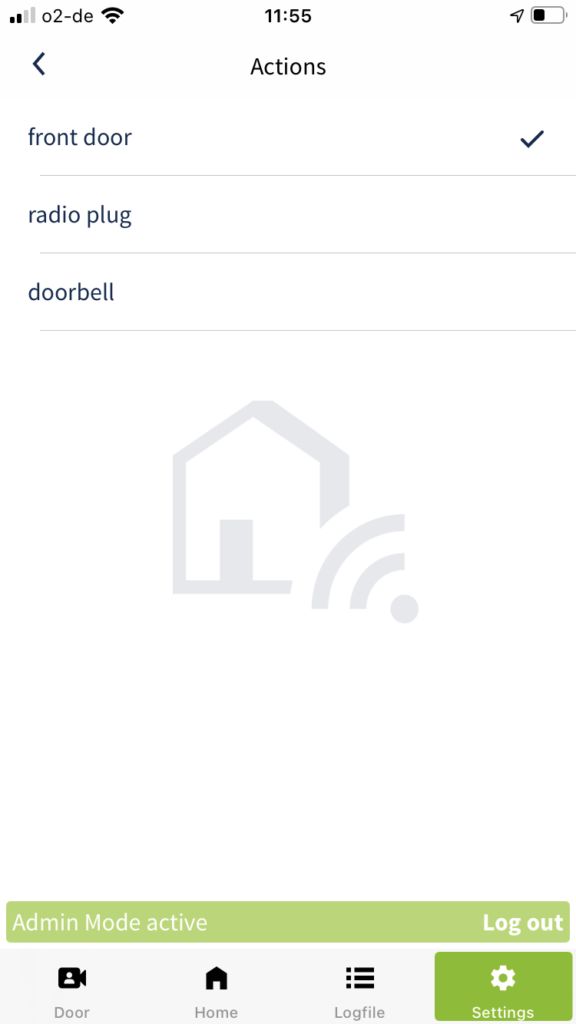
- Select the appropriate application from the list. You can also activate multiple applications. Return to the overview of the rules by tapping the arrow in the top left corner.
- Check your rules again and confirm your selection by tapping Save.
- Make sure that the Active switch is activated and create the new schedule by tapping Create.
- Your previously created schedule is now displayed in the list. The small arrow next to the name indicates that the schedule is active. A crossed circle indicates that the schedule is currently deactivated.
Explanations of the rules of schedules:
| Time | Specifies the time at which the application should be switched. |
| Frequency | Specifies whether the application should be switched daily, weekly, monthly or yearly. |
| Every (Interval) | Depending on which selection you have made with frequency, you now have the option to define the interval or specific days precisely. |
| Validity | Specifies how long the schedule is valid. You have the option to activate the schedule forever, up to a date or based on the number of repetitions. If you set the validity up to a date or based on the repetitions, the schedule is disabled after the date or the defined number of repetitions expires. |
Edit schedules
To edit already created schedules, please follow the steps below.
- Tap Settings in the main menu and then tap Administration.
- Enter your administrator password and tap Login.
- Tap Schedules.
- Select the schedule you want to edit.
- You now have the option to make changes to the schedule. For example, you can change the name, activate or deactivate the schedule by tapping the Active switch, or edit the rules. When you are finished editing, confirm your changes by tapping Save.
To permanently remove the schedule, tap Delete.