This chapter summarizes all advanced settings for the SmartConnect app and SmartConnect. Only administrators are authorised to administer user administration and schedules as well as to edit advanced settings such as network configuration or resetting to factory settings.
The advanced settings and the administration area are explained in more detail below.
For more information about the general settings of the Smartconnect app and SmartConnect, please refer to the chapter User settings.
Administration
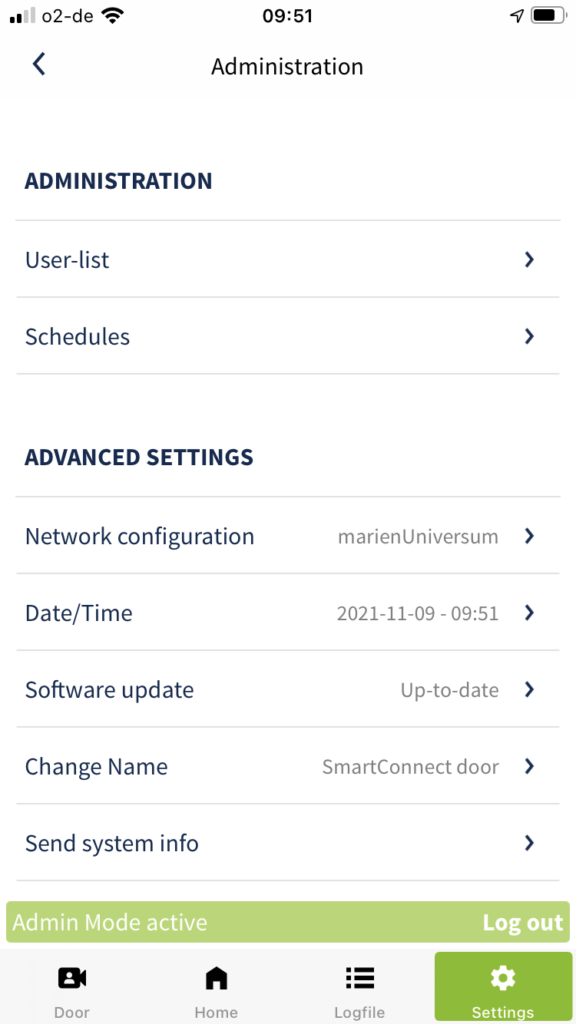
The Administration area is reserved for administrators only. Once you log in as an administrator, you will be able to manage user lists and schedules and edit the advanced settings of the SmartConnect in this area.
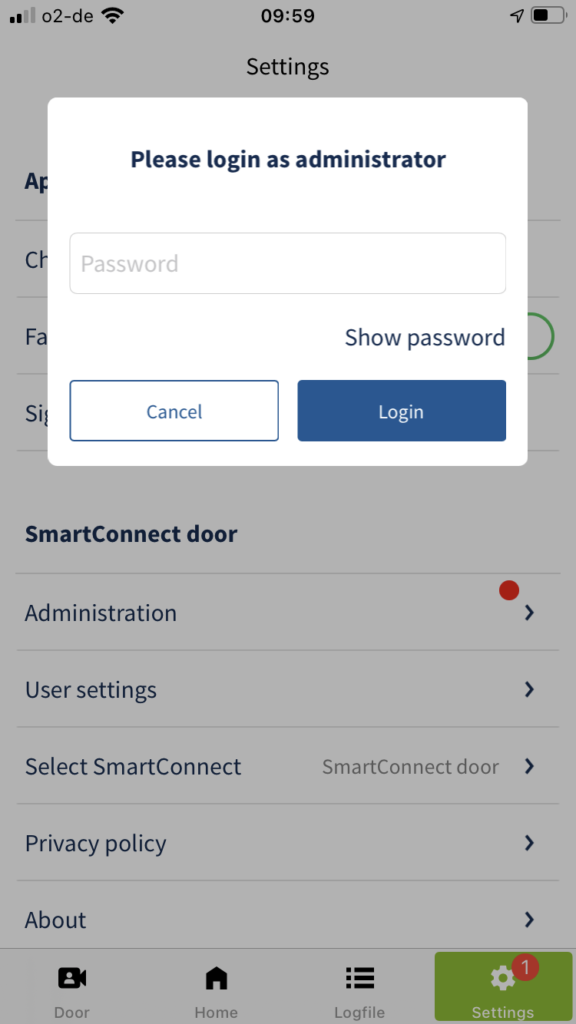
Login as administrator


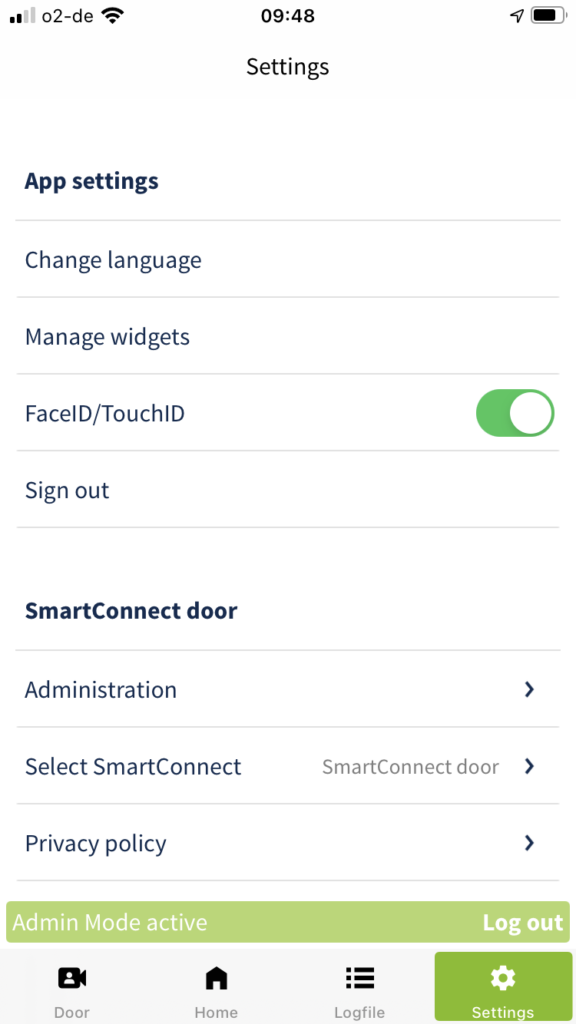
- Tap Settings in the main menu and then tap Administration.
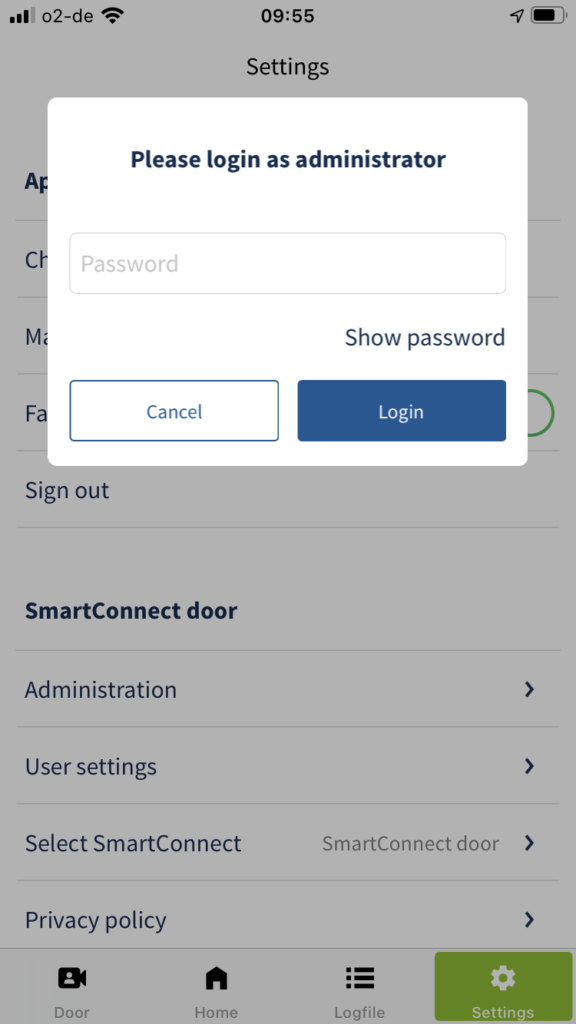
- Enter your administrator password and tap Login.
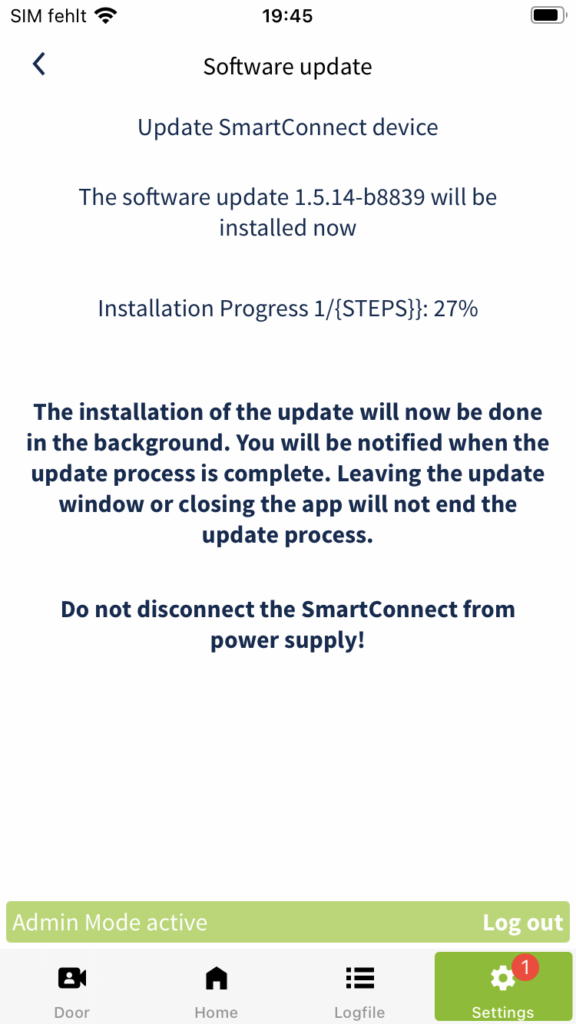
- You are now logged in as an administrator. At the bottom of the content area of the app, you will now see a green bar indicating that you are currently in admin mode.
Administration
User-list
You can learn how to edit user-lists or manage users in the chapter User administration.
Schedules
You can learn how to create or edit schedules in the chapter Schedules.
Advanced settings
Network configuration
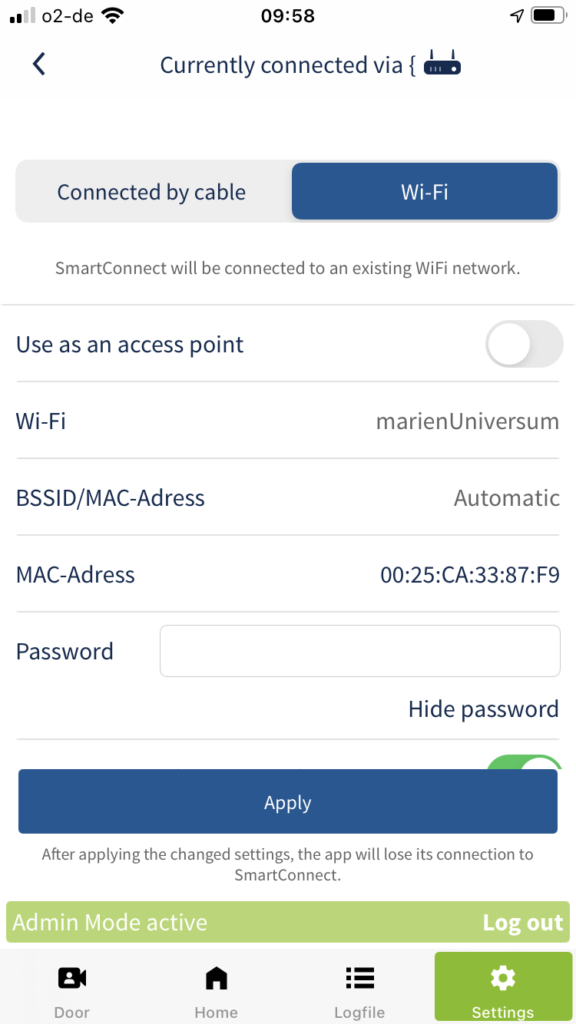
Option 1: Wi-Fi integration
Recommended operation of the SmartConnect easy.


- Tap Settings in the main menu and then tap Administration.
- Enter your administrator password and tap Login.
- Tap Network configuration.
- Select Wi-Fi in the header area.
Make sure that the Use as an access point switch is deactivated.
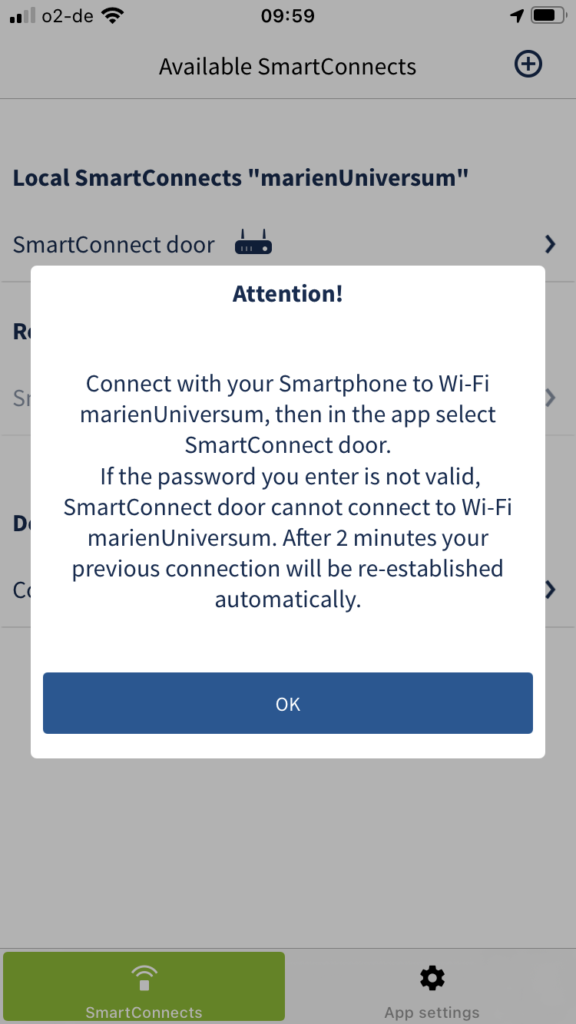
Select your personal Wi-Fi. Leave the assignment of the BSSID / MAC address to Automatic and enter the password of your personal Wi-Fi.
If you want remote access to your SmartConnect via the Internet, activate the corresponding switch.
Confirm your details by tapping Apply. - Connect your smartphone to the previously defined Wi-Fi and then select the appropriate SmartConnect in the SmartConnect app.
Option 2: Network cable (only SmartConnect door)
Recommended operation of the SmartConnect door.


- Tap Settings in the main menu and then tap Administration.
- Enter your administrator password and tap Login.
- Tap Network configuration.
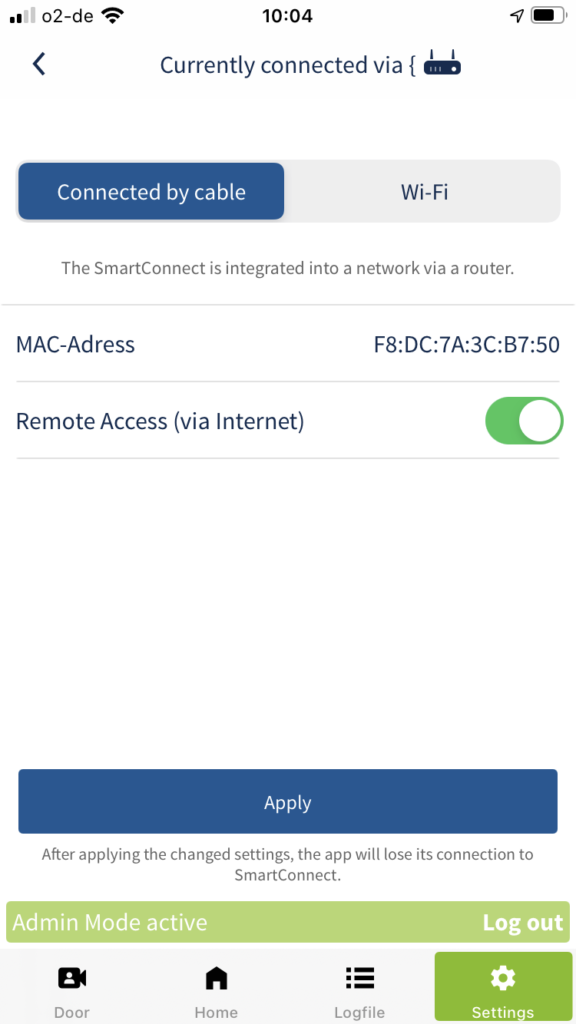
- Select Connected by cable in the header area.
Warning: the network cable can be used to gain unintentional access to the network!
If you want remote access to your SmartConnect via the Internet, activate the corresponding switch.
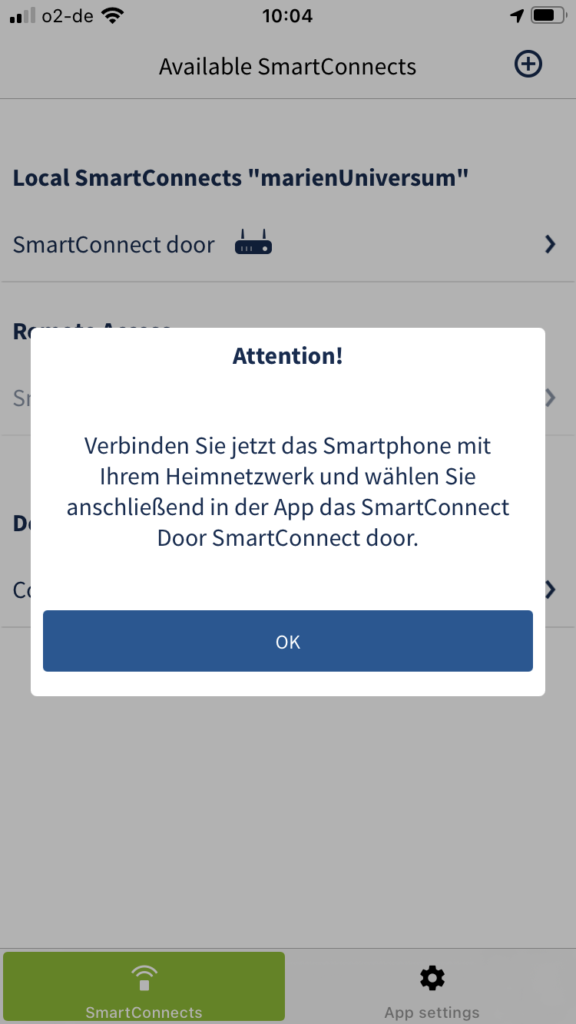
Confirm your details by tapping Apply. - Connect your smartphone to your home network and then select the appropriate SmartConnect in the SmartConnect app.
Option 3: Access point mode
If a home network is not available, a direct connection can be established between the smartphone and SmartConnect.


- Tap Settings in the main menu and then tap Administration.
- Enter your administrator password and tap Login.
- Tap Network configuration.
- Select Wi-Fi in the header area.
Activate the Use as an access point switch.
Assign a secure password for the Wi-Fi of your SmartConnect.
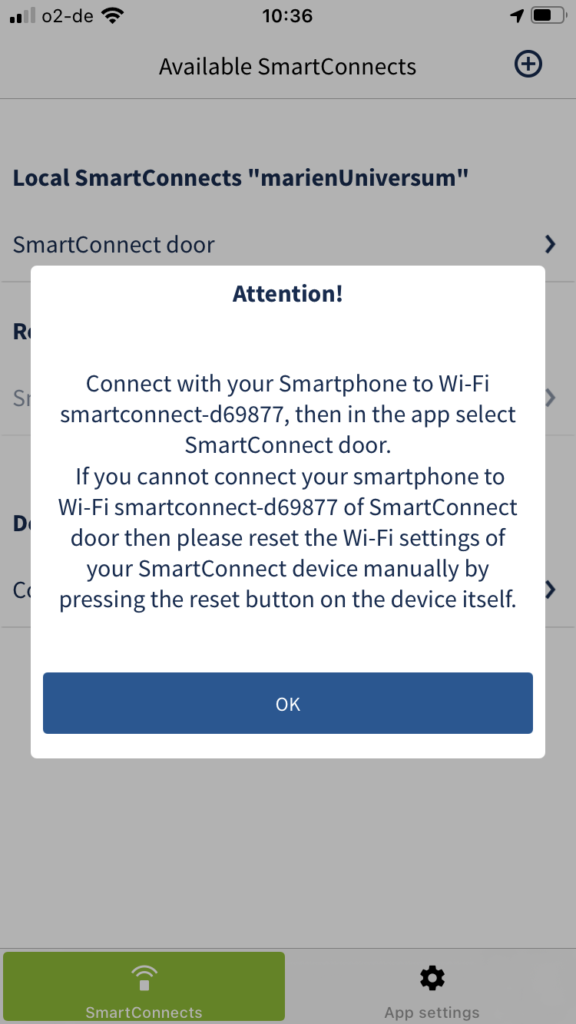
Confirm your details by tapping Apply. - Connect your smartphone to the Wi-Fi “SmartConnect-XXXX” and then select the corresponding SmartConnect in the SmartConnect app.
Edit Date/Time and time zone
- To set the date and time of the SmartConnect, tap Settings in the main menu and then tap Administration.
- Tap Date/Time.
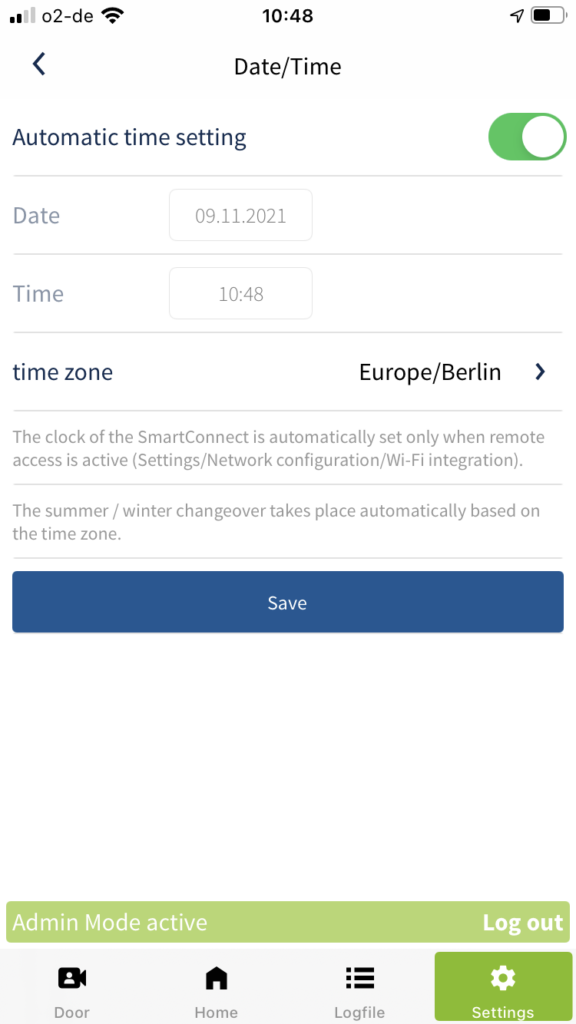
If the SmartConnect is connected to the Internet, it automatically retrieves the time via a time server. - For manual setting, deactivate the Automatic time setting switch.
- Enter the correct data and select the applicable time zone. Check the time of the SmartConnect regularly. This is the only way to correctly track which user has used an application and when in the logfile.
- Confirm your entries by tapping Save.
Software update
The software of your SmartConnect and the SmartConnect app should always be up-to-date to ensure maximum security. The SmartConnect app is usually updated automatically via the App Store.
- To update the SmartConnect software manually, tap Settings in the main menu and then tap Administration.
- Tap Software update.
- Now you can check whether an update is available for your SmartConnect. If necessary, tap Download & Install to start the update. The update is first loaded to the smartphone and then transferred to the SmartConnect and installed. Depending on the size of the update, it may take several minutes to complete. If the LEDs of the SmartConnect are flashing, the process is not yet complete; the installation can take up to 20 minutes.
Never disconnect the SmartConnect from the mains during the update process. This may damage it so that it needs to be sent to the support unit.
Online software update
If your SmartConnect has an internet connection, it checks for updates on a daily basis. If an update is available, the administrator receives a pop-up notification in the SmartConnect app to approve the execution of the update. A red dot at settings in the main menu indicates that an update is available. You will learn how to perform an online software update in the following.
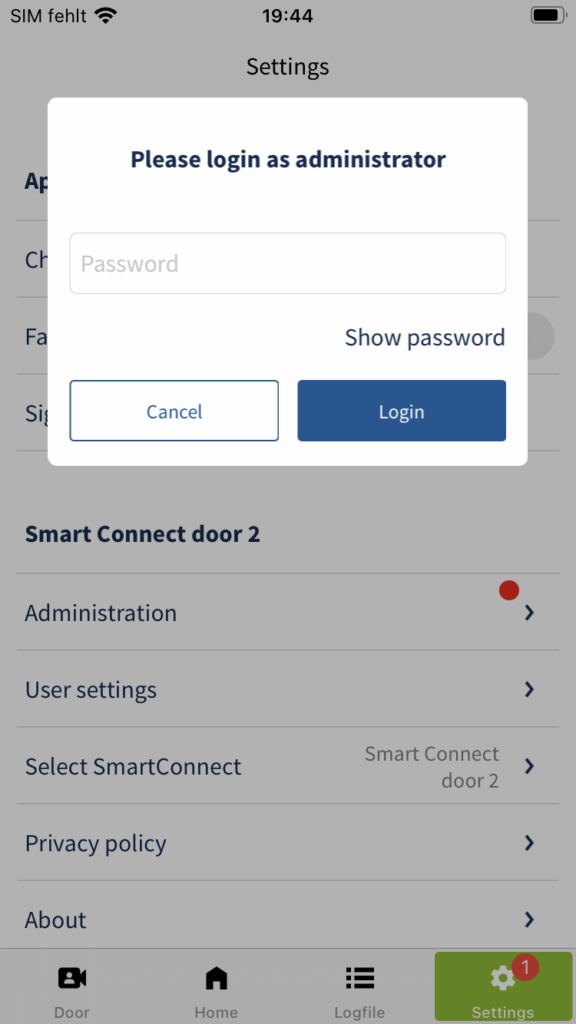

- Tap Settings in the main menu and then tap Administration.
- Enter your administrator password and tap Login.
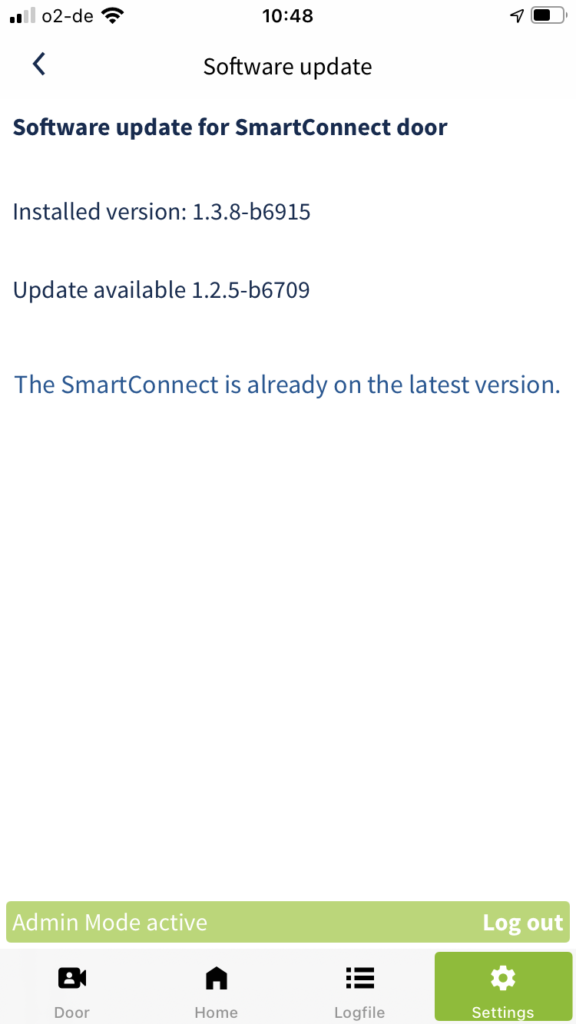
- Tap Software update.
- Tap the button Update SmartConnect device at the top to perform an online software update.
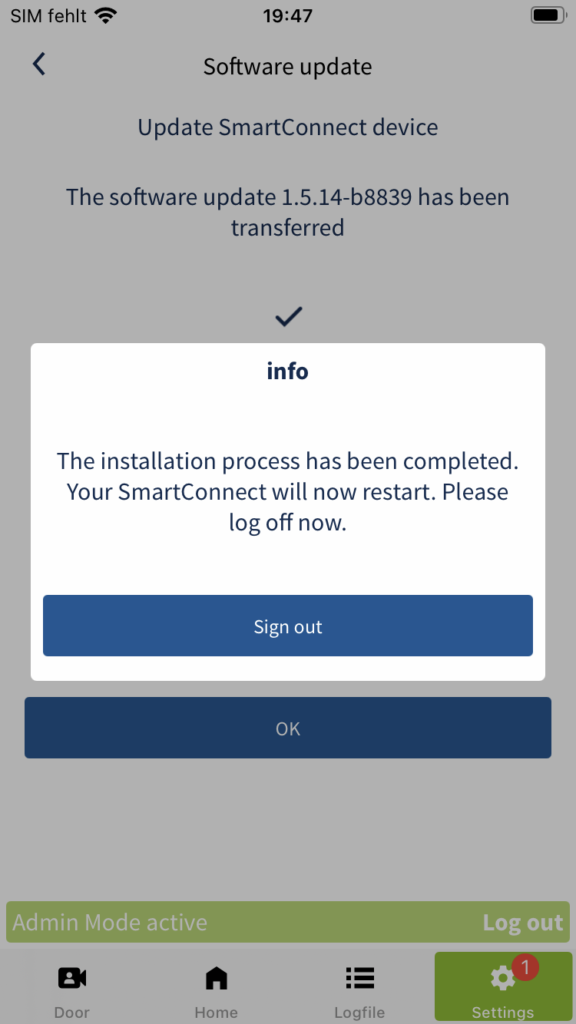
- The SmartConnect will now install the update. This process can take a few minutes and is indicated by flashing LEDs. Wait until the update is complete.
- The installation process has been completed. Confirm the pop-up by tapping Sign out.
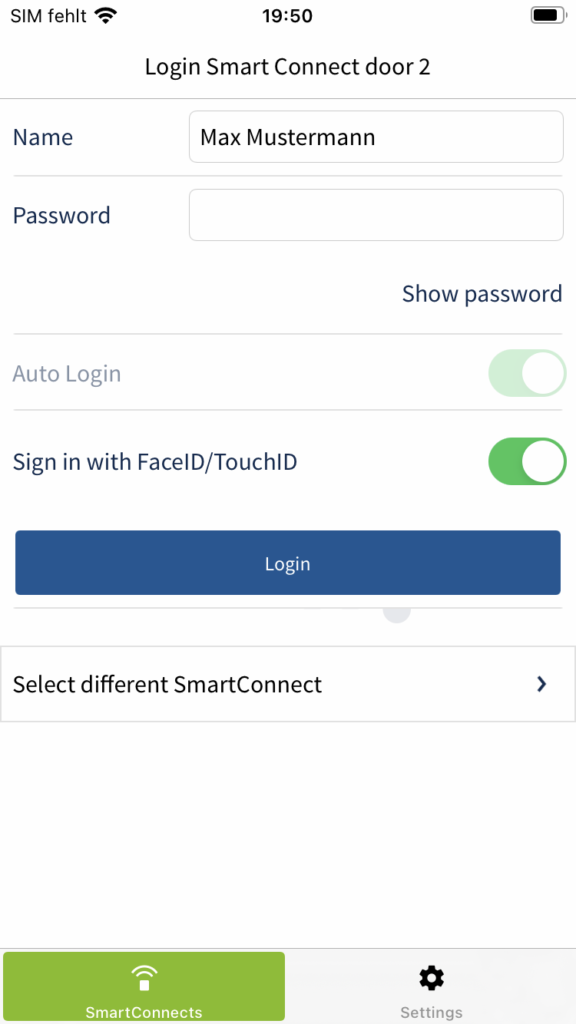
- The SmartConnect will now restart. This can take a few minutes. When the reboot is complete, your SmartConnect will appear under local SmartConnects. Select your SmartConnect.
- Enter your username and password and tap Login.
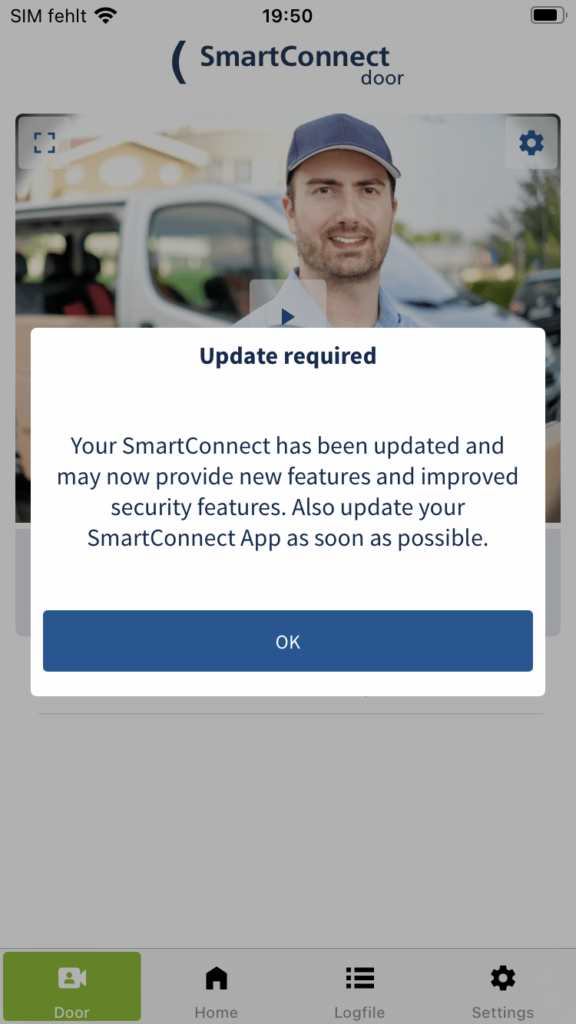
- Confirm the pop-up by tapping OK.
- The online software update has been successfully completed. The red dot at Settings in the main menu has now disappeared.
Offline software update
If your SmartConnect does not have an Internet connection, updates can also be performed offline. To do this, make sure that the SmartConnect app is not connected to a SmartConnect. You can find out how to log out of your SmartConnect in the chapter User settings.
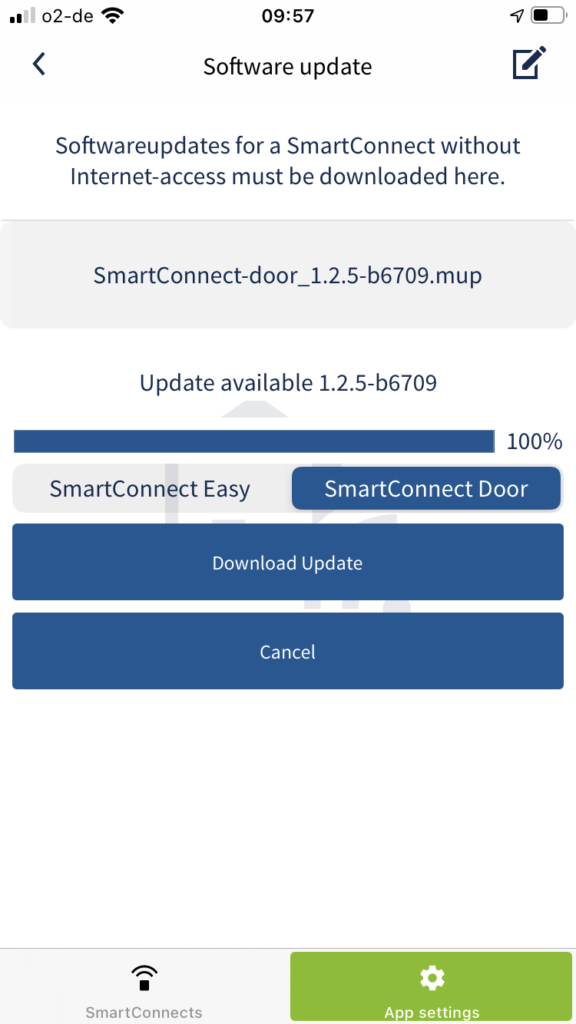
- Tap App settings in the main menu and then tap Software update.
- Select whether you want to download an update for a SmartConnect easy or a SmartConnect door. Then tap Download Update.
- When the update is finished (100%) click on SmartConnects in the main menu at the bottom to connect to the appropriate SmartConnect.
- Select the SmartConnect on which you want to install the update. You are now connected to the SmartConnect.
- Tap Settings in the main menu and then tap Administration.
- Enter your administrator password and tap Login.
- Tap Software update.
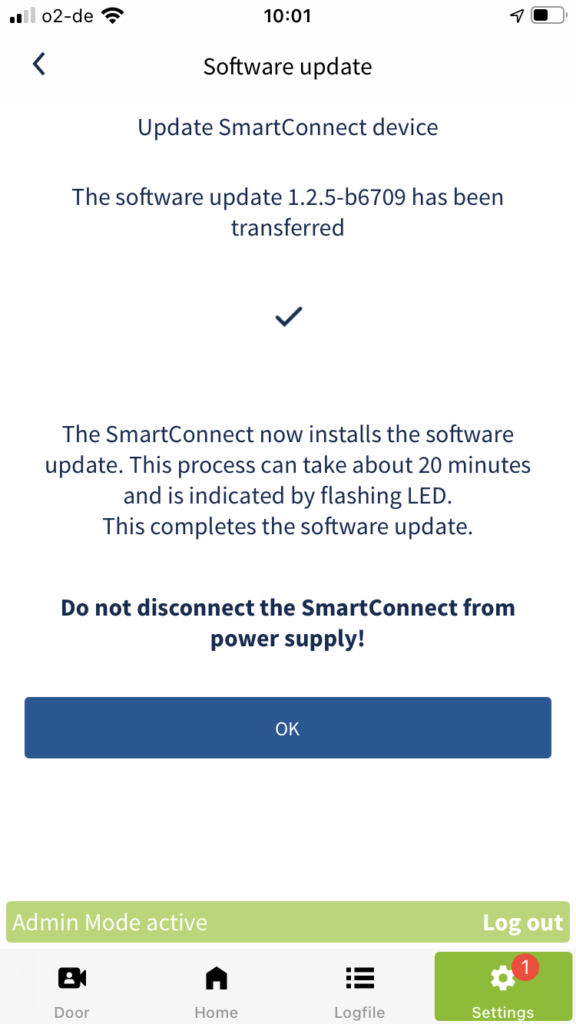
- The previously downloaded update is displayed in the lower part of the content area. To install the update, tap Update SmartConnect device.
- When the update has been transferred to your SmartConnect, tap OK.
The SmartConnect will now install the update. This process can take a few minutes and is indicated by flashing LEDs. Wait until LED 2 on your SmartConnect lights up again permanently.
Change name
You can change the name of your SmartConnect in the Settings. When using multiple devices, it makes sense to use as accurate a description as possible to differentiate the SmartConnect, for example SmartConnect Home or SmartConnect Practice.
- To change the name of your SmartConnect, tap Settings in the main menu and then tap Administration.
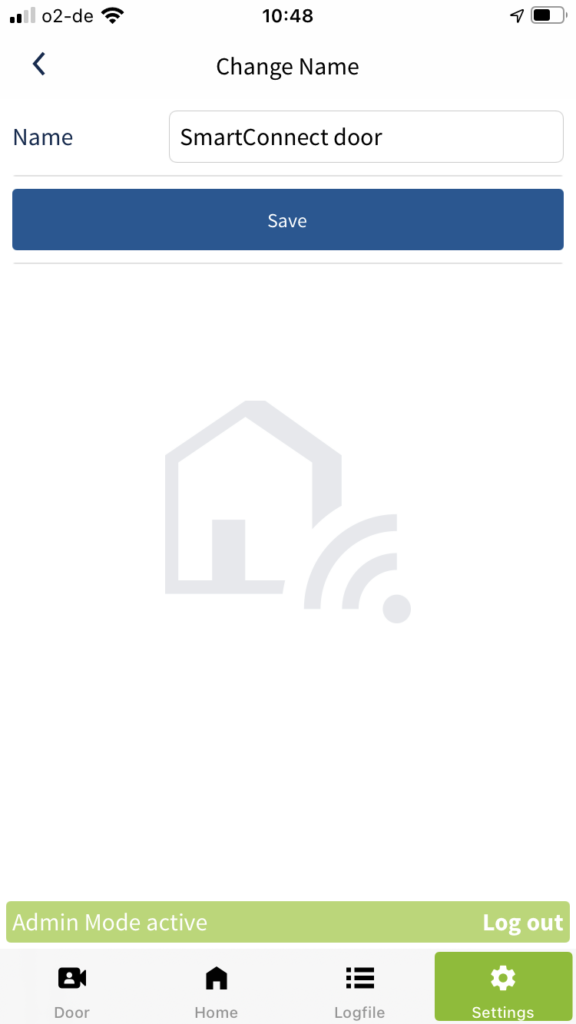
- Tap Change Name.
- Enter the new name and confirm your entry by tapping Save.
If you change the name of the SmartConnect, the name of the Wi-Fi network (SSID) that the SmartConnect uses in access point mode remains unchanged.
Send system info
If a service case occurs, you can send information about your SmartConnect to the manufacturer via e-mail. Information contained in the logfile is also transmitted. In addition, no personal or security-critical data is transmitted.
- To send system information to the manufacturer, tap Settings in the main menu and then tap Administration.
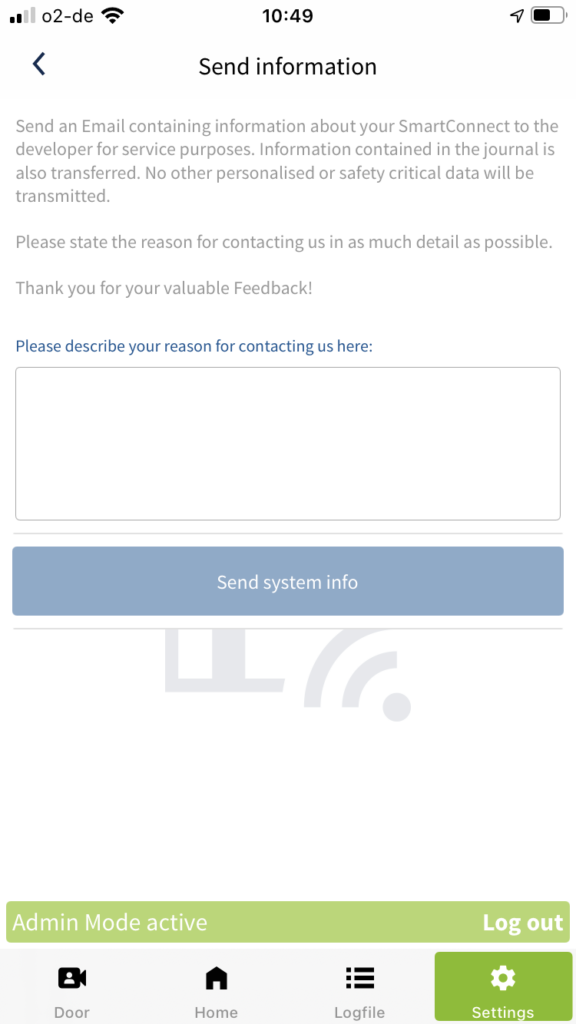
- Tap Send system info.
- Describe your concern as precisely as possible in the text field.
- By tapping Send system info, the e-mail client of your smartphone opens and generates an Email – if this has been set up. Check your details and send the e-mail with the attached log file to the address already entered.
Factory settings
Using the factory settings you can reset the SmartConnect to the delivery state. All applications, users and settings are deleted. The settings of the smartphone, such as the language of the app, are not reset.
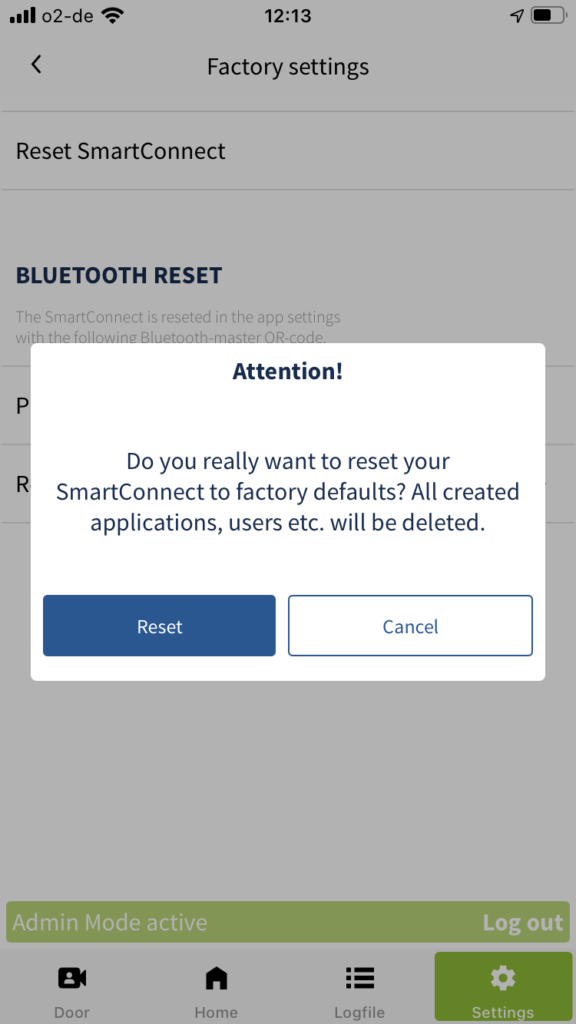
- To reset the SmartConnect to the delivery state, tap Settings in the main menu and then tap Administration.
- Tap Factory settings.
- Tap Reset SmartConnect.
- Confirm the pop-up by tapping Reset.
This action cannot be undone!
How to reset the SmartConnect without the app can be found in chapter Reset (Factory Settings).