
This chapter summarizes the general settings for the SmartConnect app and the SmartConnect. Both users and administrators are authorised to edit the general settings.
The general settings are explained in more detail below.
Only administrators are authorised to administer user administration and schedules as well as to edit advanced settings such as network configuration or resetting to factory settings. For more information about the advanced settings, refer to the chapter Administrator settings.
App settings
Change language
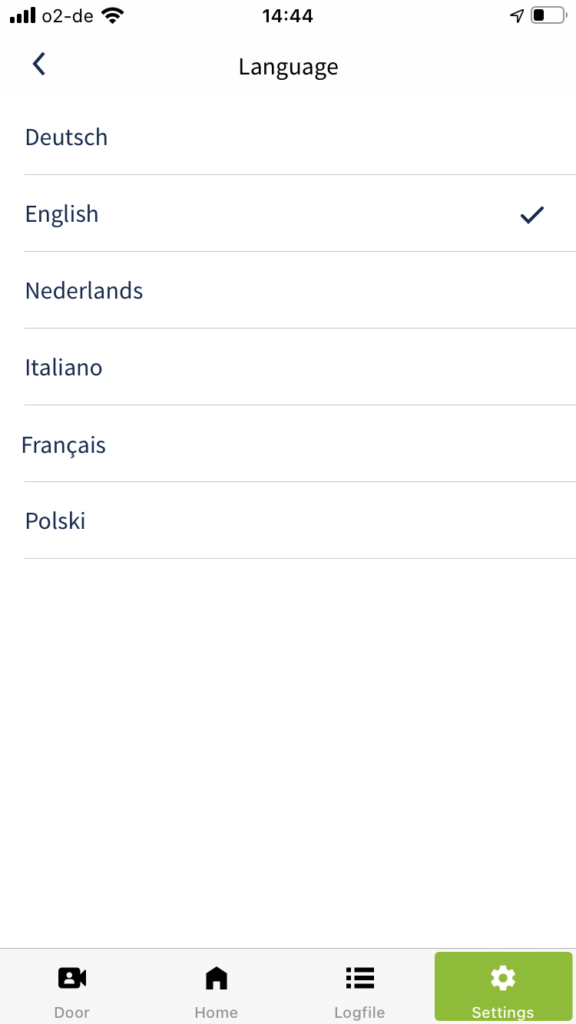
- To change the language, tap Settings in the main menu.
- Now tap Change language.
- All languages that are available for the app are listed. Select your preferred language. The check mark indicates which language is currently selected. After changing the language, the SmartConnect app switches back to the settings overview. The language was changed successfully.
Manage Widgets
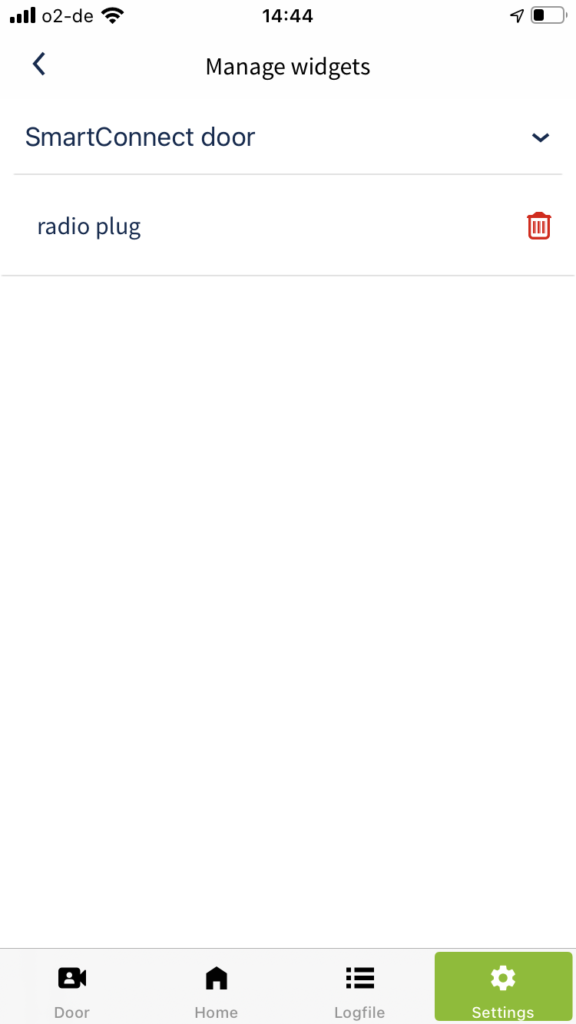
- To manage the widgets of the SmartConnect app, tap Settings in the main menu.
- Now tap Manage widgets.
- A list of the available SmartConnects is displayed. By tapping on the desired SmartConnect, you will be shown the applications for which a widget has been set up. You now have the option to delete the corresponding widget by tapping the trash can icon.
To learn how to create widgets for applications, see chapter Application settings.
FaceID/TouchID login
- To conveniently log in to your SmartConnect via FaceID/TouchID, tap Settings in the main menu.
- Activate the FaceID/TouchID switch. The next time you open the SmartConnect app, you can now log in easily using FaceID/TouchID.
Sign out
If you change a user or want to log in to another SmartConnect, you must log out first. With the log out step, you will also deactivate the Auto Login switch for this SmartConnect. You must therefore log in manually when you reconnect to the SmartConnect and you can activate the Auto Login switch again.
- Tap Settings in the main menu.
- Tap Sign out.
SmartConnect settings
Administration (Administrator rights required)
The Administration area is reserved for administrators only. Once you log in as an administrator (see chapter Administrators and users), you can configure advanced settings in this area, such as the SmartConnect network configuration (see chapter Administrator settings), manage user settings (see chapter User administration) or set up schedules (see chapter Schedules).
User settings
In the User Settings you have the option to change your username and password. You can also edit the settings for push notifications. You can specify whether you want to receive push notifications in general, which applications you want to receive push notifications for, and on which devices you want to receive them.
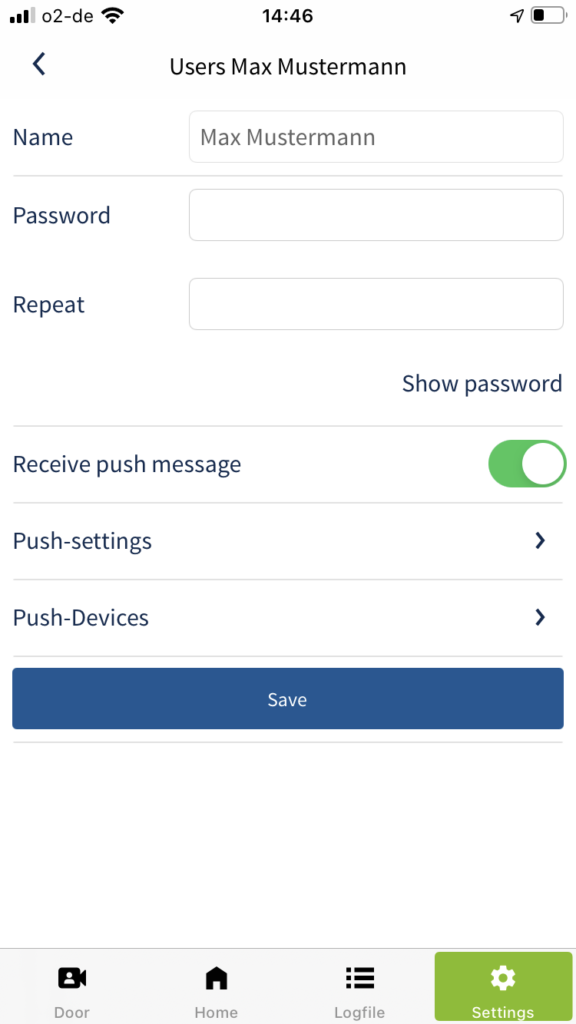
- Tap Settings in the main menu.
- Tap User settings.
- Make the desired changes and confirm your settings by tapping Save.
If you are logged in as an administrator, this menu item does not exist. You can find out how to make the appropriate settings as an administrator in the chapter User administration.
Select SmartConnect
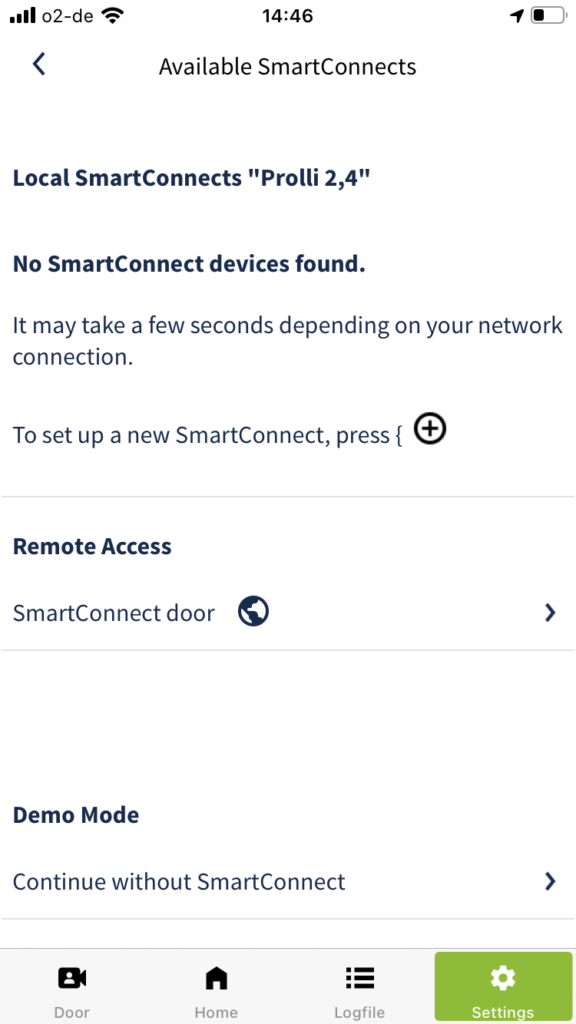
- To connect to another SmartConnect, tap Settings in the main menu.
- Tap Select SmartConnect.
- All available SmartConnects are now displayed. Tap on the SmartConnect you want to connect to and log in with your access data.
As a user without administrator rights, you can also log in automatically – the login data will then be stored on your smartphone.
The demo mode shows the basic functions of the SmartConnect app even without accessing a SmartConnect.
Privacy Policy
Here you can find the privacy policy of the SmartConnect app.
About
Here you will find basic information about the SmartConnect app and the SmartConnect.
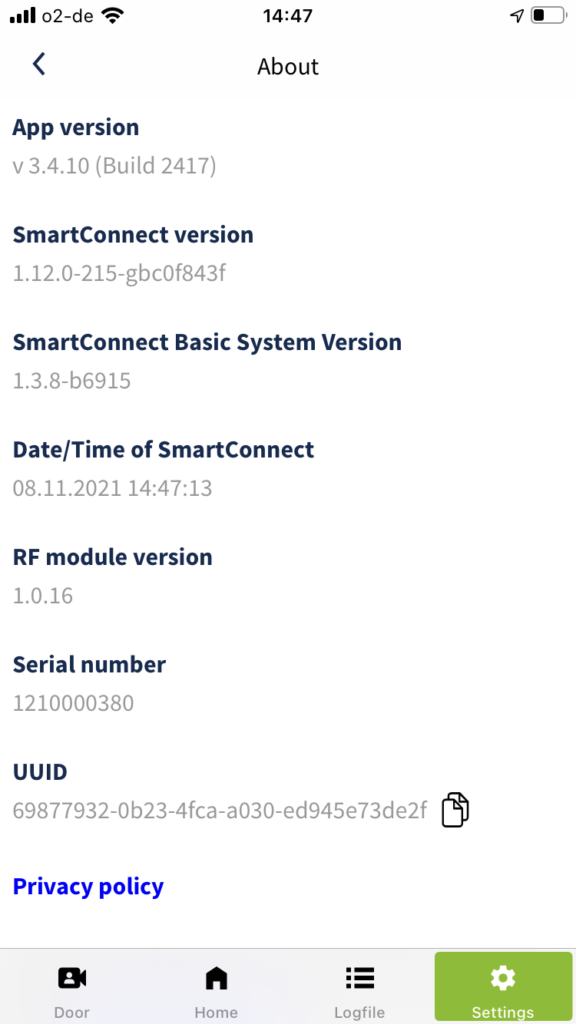
The following information will be displayed:
- SmartConnect app Version
- SmartConnect software version
- SmartConnect basis system version
- Date/Time of the SmartConnect
- RF modul software version
- Serial number
- UUID